The instructions below have been customized for your project "".
Customize these instructions for the project
Actions reference
Actions are the operations that a rule must perform, and which can be defined in the third step of the rule edition form. This page presents the various action types supported by redirection.io.
Please note that one rule can perform several actions. The actions are performed sequentially - hence you can for example decide to add a custom HTTP response header, inject Structured data in the page and override the HTML "title" and "description" meta tags in one single rule.
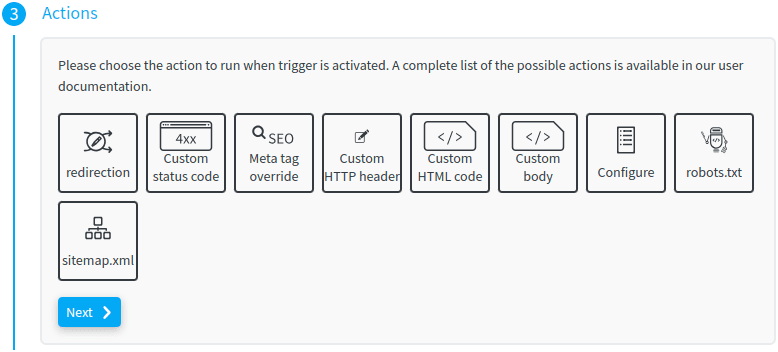
Redirection
The Redirection action generates a HTTP redirection.
If you are unfamiliar with HTTP redirections, please read first our guide about what is a URL redirection.
You can setup two parameters:
- the target of the redirection (ie., the URL that the user must be redirected to). This can be a relative or absolute URL (starting with
http://orhttps://). - the status code of the redirection - choose if it must be a permanent or temporary redirection;
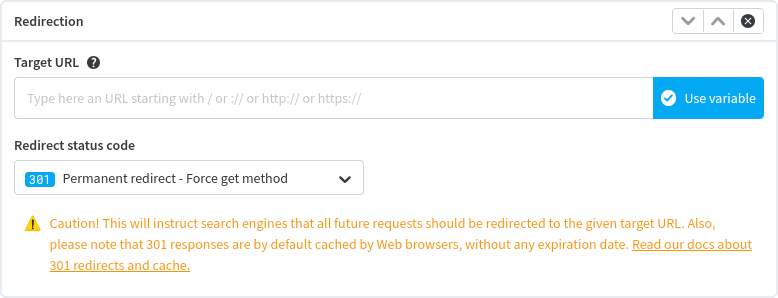
When hitting the "Use variable" button, you can reuse a marker that your may have defined in the "Source URL" trigger. This is useful to create dynamic redirection rules, that will use a part of the Source URL in the target location.
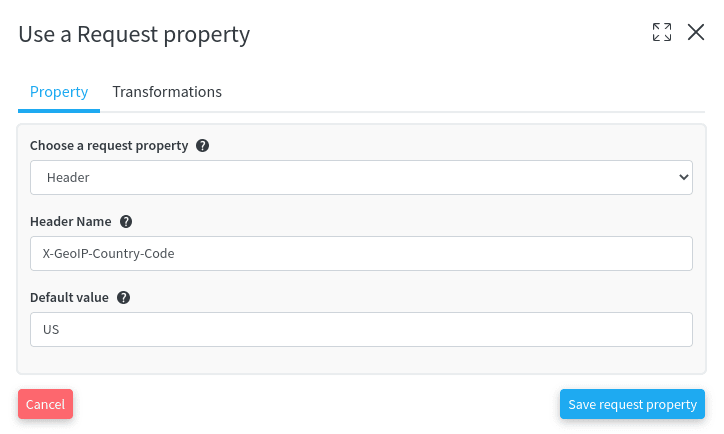
"Pro" plan project members can also use any request property in the redirection target URL. It can be:
- the value of any request header
- the time of the request
- the hostname
- the path of the request
- the HTTP method that was used
- the scheme of the requested URL
- the IP address of the client
This feature can be useful in many cases. For example, it can help create scenarios based on the value of a Cookie or any request header that your CDN could add, etc.
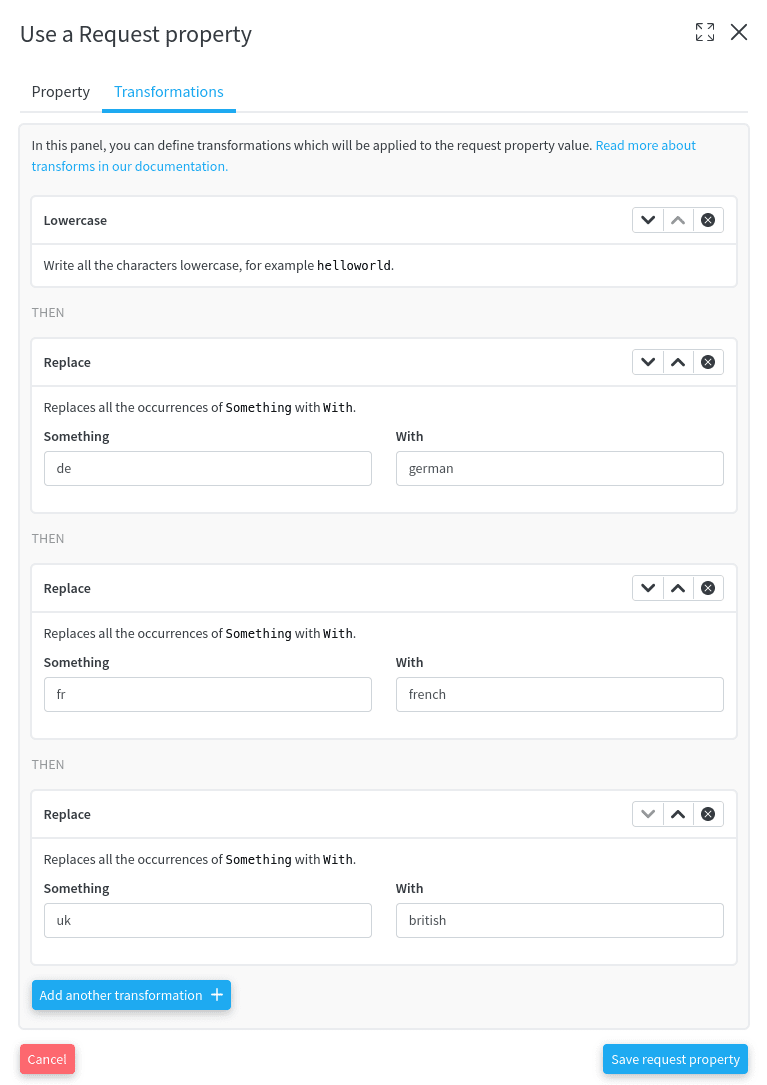
In order to add a header value in the redirection target URL field, proceed with the following steps:


Custom Status Code
The Custom Reponse Status Code action allows to force a given status code in the HTTP response.
Many possibilities are offered by this action:
- you could want to return a
404 Not Foundresponse, to "drop" traffic at the redirection.io proxy level. If you have recently removed content from your website and want to instruct bots and visitors to stop visiting these urls, this action can be useful and help save traffic on your backend stack; - or you could return a
410 Goneresponse (a410status code should be prefered if the page has completely disappeared, and you want to stop search engines from loosing time and resources visiting this page again); - if your website or a part of it is down for maintainance, you could want to return a
503 Service Unavailableresponse, to indicate that your website is not ready to handle requests; - etc.
Of course, you have to be careful when using this action, as it could generate HTTP errors if you configure it so!

All the standard status codes in the range 2xx - 5xx are supported.
Meta tag override
When creating a website, it is a quite common SEO mistake to forget filling all the <meta> tags. Even optimized websites tend to have duplicates in page titles or description, which is usually not considered a SEO best-practice.
In order to avoid those issues, the SEO override action allows to fine-tune the content of this HTML meta-tags in the HTTP responses sent from your platform.
Consider, for instance, the following HTML page:
<!doctype html>
<html lang=en>
  <head>
    <meta charset=utf-8>
  </head>
  <body>
    <p>Here goes the page content.</p>
  </body>
</html>
Using the SEO override action permits to "fix" the page and inject meta tags:
<!doctype html>
<html lang=en>
  <head>
    <meta charset=utf-8>
    <title>Some unique title for this page</title>
    <meta name="description">Put here a unique description for this page</meta>
    <meta name="keywords">keywords, html, page, example</meta>
  </head>
  <body>
    <p>Here goes the page content.</p>
  </body>
</html>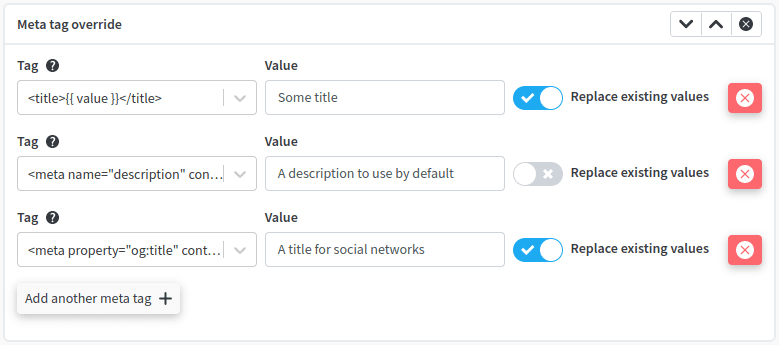
We support the override of quite an extensive list of meta tags, which should cover most of the requirements.
Custom HTTP Header
Managing the HTTP response is not only a HTML or status code story; the redirection.io proxy can also help you add, delete or change response HTTP headers to the responses sent by your website.
The "Custom HTTP Header" action is a very flexible way to manage the responses sent to your users. It can be used to include custom headers required by your business (X-* headers), to add security headers, fix Content Security Policy Headers for a specific URL, etc.

The "Custom HTTP Header" action can perform several types of operation on Response Headers:
- Set the value: Replaces all the occurrences of this header with one single header containing this value. If the header was not present in the response, it is added.
- Default value: Defines this header if it is not present in the response. If the header is already defined in the response, it is left untouched.
- Replace existing value: Replaces all the occurrences of this header with the configured value. If the header is present multiple times, each of its occurrences will be configured with this value. If the header was not present in the response, it will not be added.
- Append a new header: Adds a new response header with this value. If the header is already present in the response, the action will add another occurrence of this response header.
- Remove the header: Removes all the header occurrences from the response.
Please note that some of the editing modes listed above are not available with all proxies. For example, with the nginx module, it is not possible to override headers that are themselves defined by nginx directly. For example, the Server header, which is defined by nginx, cannot be removed by the nginx module.
The redirection.io agent in reverse-proxy mode, on the other hand, correctly supports all the editing modes listed above.
As for the URL target of the redirection action, "Pro" plan project members can reuse any request variable in response header values:

Not comfortable with the notion of HTTP headers? You can check redirection.io recipes, to help you create rules that act on headers more easily.
Insert HTML Code
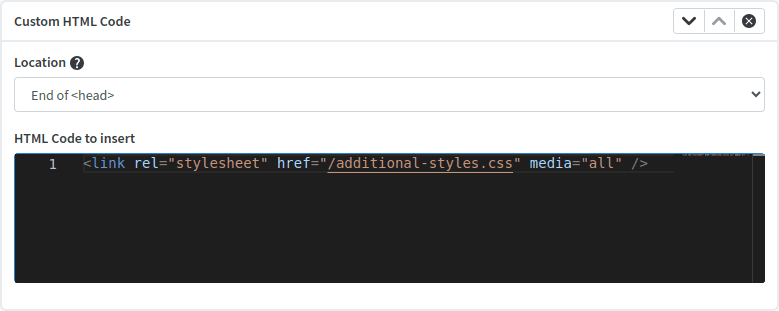
This action allows to embed the string of your choice at different positions in the HTML response. This can be useful to add a stylesheet, a javascript file, or some code.
Custom response body
This action is only available in "Pro" plan projects.
This actions allows to completely define the content of the response body. This allows to return HTML content, but also CSS stylesheets, javascript, SVG images, pure text/plain content, etc.
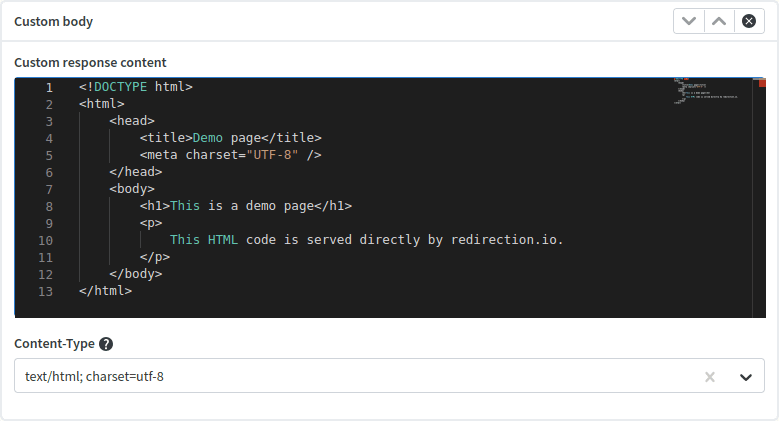
Besides defining the content of the response, the action also allows to select a value for the Content-Type response header.
Robots.txt management
This action is only available in "Pro" plan projects.
This action can only be used when the "Source URL" is the URL of a robots.txt file, and it allows to serve a custom robots.txt file.

The action proposes 3 possibilities:
- Allow all to allow all the crawlers to access all the pages
- Block all to prevent all crawlers and robots to explore any page. Keep in mind that in some situations, URLs of your website may still be indexed by search engines, even if they haven't been crawled
- Custom to define yourself the content that should be served as the
robots.txtfile of the website.
If the "Source URL" provided in the "Trigger" step is an absolute URL, we will automatically load your pre-existing robots.txt file:

Sitemap management
This action is only available in "Pro" plan projects.
Use this action to serve a sitemap.xml file at the location defined in the "Source URL" trigger.
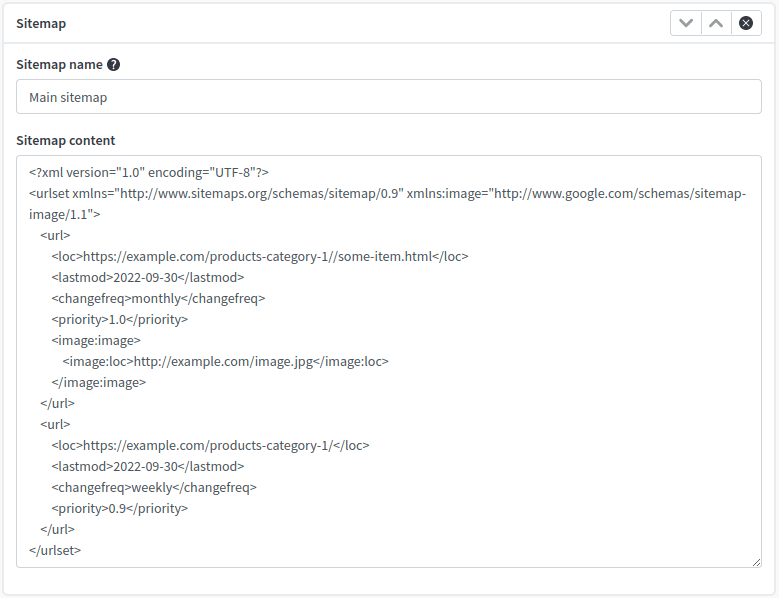
This actions allows to define up to 50,000 entries in a sitemap content, and ensures that the provided sitemap content is valid.
Configuration
This action is only available in "Pro" plan projects.
The Configuration action is useful to manage the redirection.io module behavior across your website. It allows to enable or disable the redirection.io processing altogether, or can just disable the logging of HTTP requests, which is something you may wan to avoid logging sensitive data.
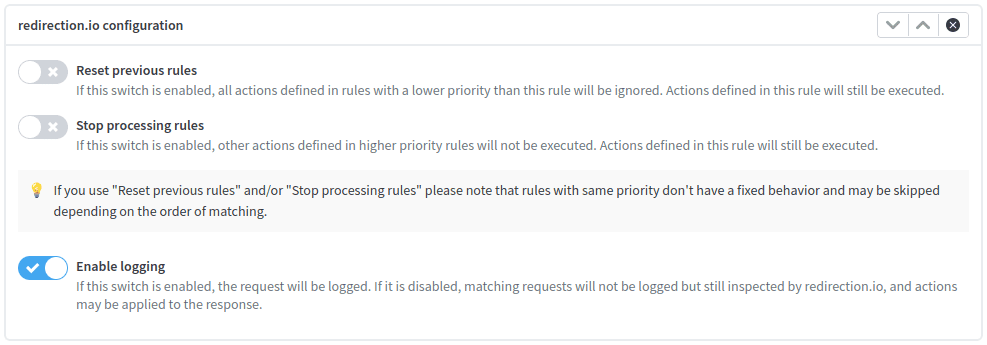
For example, you may want to disable the redirection.io module on your payment pages. You could also want to disable the logging on your user "change password" pages, etc.
Disabling redirection.io can be done using the "Reset previous rules" and the "Stop processing rules" options:
| configuration | "Stop processing rules" Disabled | "Stop processing rules" Enabled |
|---|---|---|
| "Reset previous rules" Disabled | The redirection.io rules execute as usual | Actions defined in higher priority rules are not executed. Actions defined in lower priority rules and in this rule are executed. |
| "Reset previous rules" Enabled | Actions defined in lower priority rules are not executed. Actions defined in higher priority rules and in this rule are executed. | Actions defined in lower or higher priority are not executed. Actions defined in this rule are executed. Actions defined in other rules with the same priority may be executed. |
Looking for an example of this action? Have a look at the "Redirect except a path" recipe!