The instructions below have been customized for your project "".
Customize these instructions for the project
Cloudflare Workers integration
In a traditional Cloudflare setup, Cloudflare acts as a http(s) proxy, and proxifies each and every request to your application, completely hiding your stack. You can however take advantage of Cloudflare Workers to make more from Cloudflare, and directly run redirection.io "on the edge", without even using your own infrastructure.

Using redirection.io with Cloudflare Workers is pretty straightforward:
- create a redirection.io account;
- create a redirection.io organization and a project. At this step, you may want to invite your co-workers ;
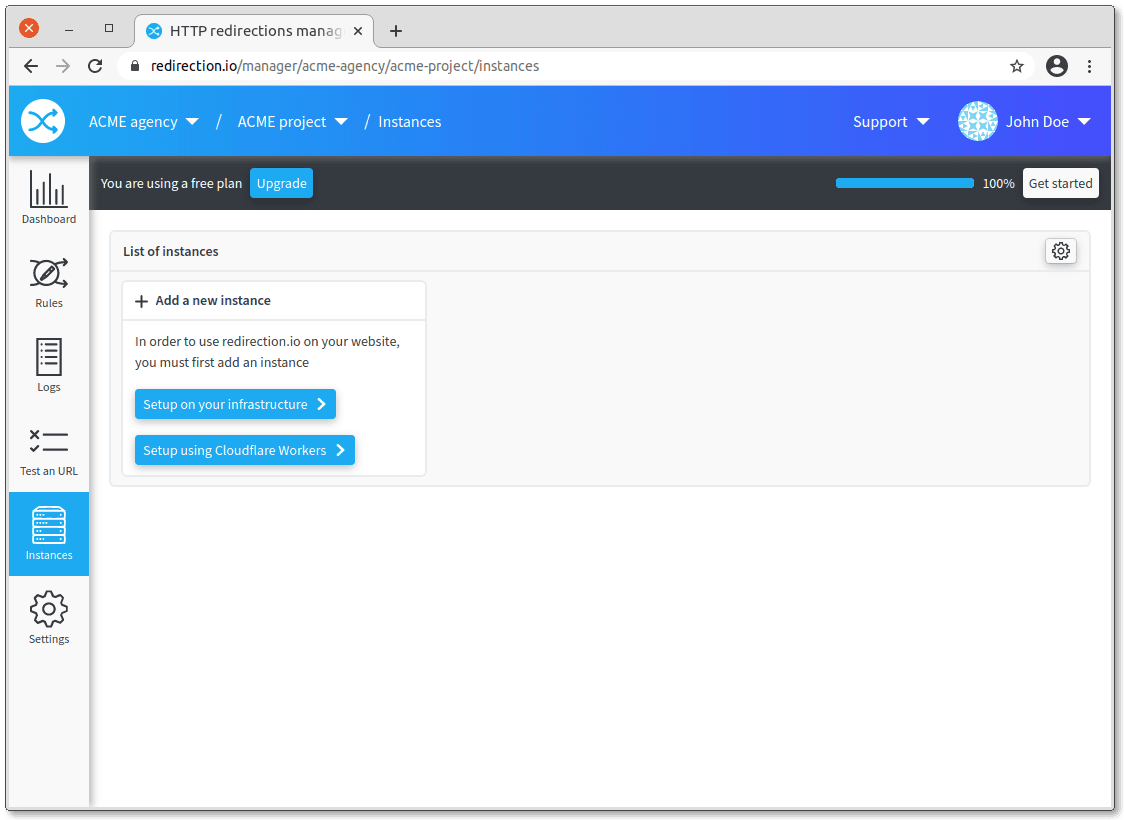
- This opens a lateral panel that will guide you through the install of redirection.io on Cloudflare Workers. Basically, you will be asked to create a Cloudflare API token for your account, configure a
Zone ID, anAccount IDand a Worker route (all these information given by Cloudflare) - You're all set :-)

When we issue an update of our agent, it is automatically deployed to your Cloudflare account, so your Cloudflare Workers redirection.io agent always stays up-to-date. If you do not want us to auto-update the worker, uncheck this option in the instance settings.
Caching with Cloudflare Workers
This feature is available since the version 2.1.1 of the redirection.io Cloudflare integration.
When using Cloudflare Workers with redirection.io, each HTTP request incoming to your website requires a call to our APIs, in order to check if one or several rules must be executed, or not. This is normal and expected. However, in some situations, you may want to avoid some of these calls. For example, if there are many equivalent requests performed to your website, it can be a great idea to enable the redirect cache in the Cloudflare Workers redirection.io instance configuration:

When this option is enabled with a non-null value for the Cache duration setting, Cloudflare Workers will cache the rule and execute it on subsequent requests without requesting our service for this duration, expressed in seconds. The logs, however, will still be saved asynchronously, without any performance impact on your website.
We advise you to set a reasonable value for the Cache duration: the higher it is, the less latency your service will experience overall. However, setting a too long value may result in a redirect still being applied even after you have changed a rule. Depending on your business requirements, correct values for the Cache duration should range from 60 to 3600 (which means a 1 hour cache duration)
Manually deploying the Cloudflare worker
There are multiple reasons why you could not want to deploy the Cloudflare worker using the process described above, using the "instances" screen of the manager.
For example, your IT security team could be concerned that you provide us with a Cloudflare token or with the ability to deploy a new version of the redirection.io worker to your Cloudflare account.
You could also want to change some parts of the worker, to apply some custom behavior that match your business requirements. As of now, it is not (easily) possible to chain-execute several workers on the Cloudflare edge, and the associated cost could still be a bit prohibitive.
The good news is, our Cloudflare worker code and tooling is open source and available on redirection.io's Github account.
Here are the required steps to get your own version of the version manually deployed, without using the "instances" screen of the manager:
-
install the Rust toolchain in your development environment, eg.:
apt install autoconf build-essential curl wget unzip
curl https://sh.rustup.rs -sSf | sh -s -- --default-toolchain 1.85.0 -y
Make sure you use the current stable version.
-
clone the code of the Cloudflare worker (you may fork it to your own account, if you need to do some changes to the worker code):
git clone https://github.com/redirectionio/cloudflare-worker
cd cloudflare-worker
At this step, you may need to switch to the latest available stable version of the worker, for example:
git checkout tags/2.9.2 -
install wrangler, the official package provided by Cloudflare to work with Cloudflare workers:
npm install -g wrangler -
allow your locally installed wrangler instance to push code to your Cloudflare account:
wrangler login -
copy the file
wrangler.toml.disttowrangler.toml, and edit the values: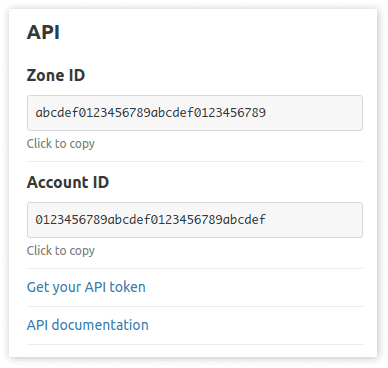
account_id: the Cloudflare account ID, that can be found on the bottom right part of the Cloudflare project dashboardname: this is the name that you want to use for this worker on the Cloudflare platformroute: this is the route of your website for which you want to enable redirection.io. You may read Cloudflare’s documentation on Workers routes. In general, you will want the route to look like this:{ pattern = "*example.com/*", zone_id = "ZONE_ID" }(replaceZONE_IDas found on your Cloudflare dashboard)workers_dev: set it tofalse(default value) to avoid publishing the worker as a.workers.devsubdomain- do not edit the values for
compatibility_dateandmain vars.REDIRECTIONIO_ADD_HEADER_RULE_IDS: (default:false). Set this totrueto append a response HeaderX-RedirectionIo-RuleIdscontaining the executed redirection.io rules identifier, separated by a;vars.REDIRECTIONIO_INSTANCE_NAME: type here the name of this instance, as it should be displayed in the redirection.io manager "instances" screenvars.REDIRECTIONIO_TIMEOUT: (default:5000) this allows to define the maximal timeout to the redirection.io API calls (in ms)vars.REDIRECTIONIO_VERSION: (default:redirection-io-cloudflare/dev) you should not replace this value, which is used to customize the worker version as it is displayed in the instances screenvars.REDIRECTIONIO_CACHE_TIME: (default:0) the cache timeout duration - see the "Caching with Cloudflare Workers" section
-
Add your redirection.io project key as a worker secret:
wrangler secret put REDIRECTIONIO_TOKEN # paste the project key that can be found in the "instances" screen of the manager, under "Setup on your infrastructure" -
As a last step, you can publish the worker to your Cloudflare project:
wrangler deploy
Your newly created worker should work after a couple of seconds!
You can try to build the worker without actually deploying it by using cargo directly. In this case, instead of running wrangler deploy directly invoke cargo:
cargo install
cargo build