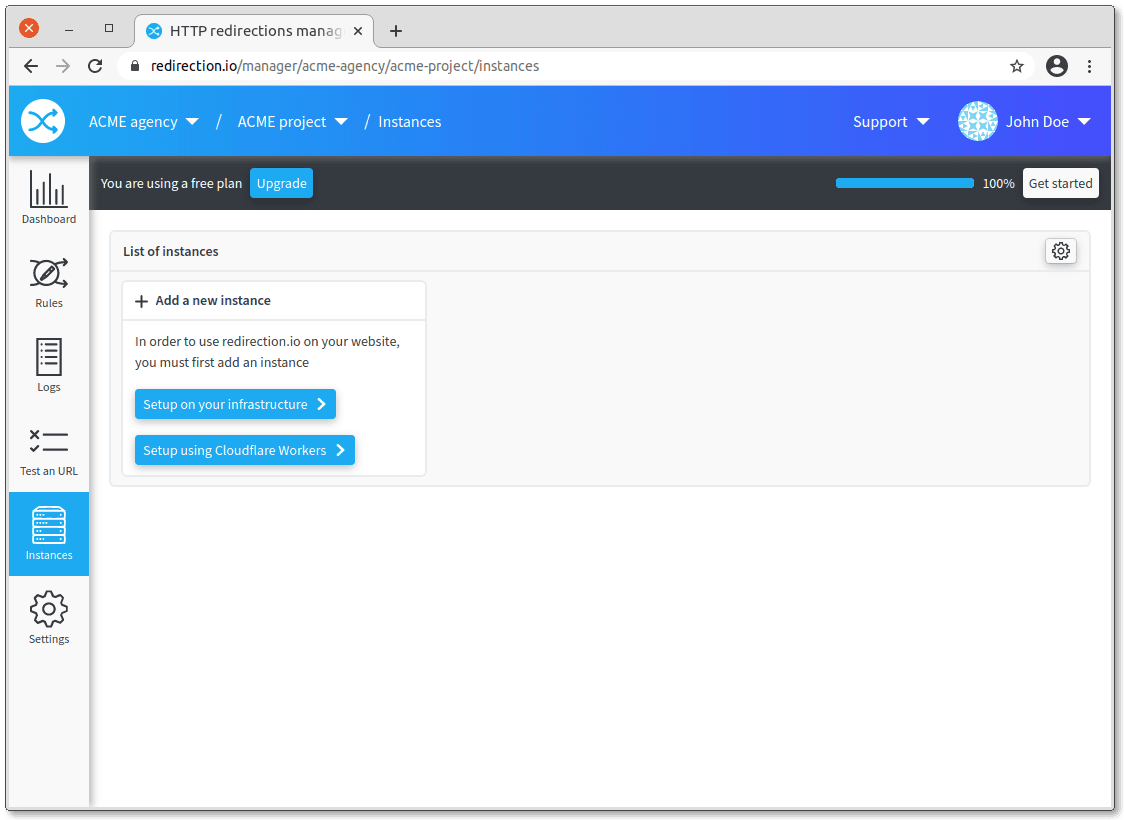
The instructions below have been customized for your project "".
Customize these instructions for the project
Fastly Compute@Edge integration
All Fastly customers can benefit of redirection.io by using Compute@Edge, the serverless edge computing solution provided by Fastly.
Using redirection.io with Fastly is pretty straightforward:
- create a redirection.io account;
- create a redirection.io organization and a project. At this step, you may want to invite your co-workers ;
- This opens a lateral panel containing your "project key". Copy this key and install the redirection.io Fastly worker (see below)
- You're all set :-)

Manually deploying the Fastly Compute@edge worker
Our Fastly Compute@edge worker code and tooling is open source and available on redirection.io's Github account.
Here are the required steps to deploy the redirection.io worker to your Fastly account:
- install the Rust toolchain in your development environment, eg.:
apt install autoconf build-essential curl wget unzip curl https://sh.rustup.rs -sSf | sh -s -- --default-toolchain stable -y - install fastly, the official CLI for interacting with the Fastly platform, and configure the Fastly cli:
fastly configure - clone the code of the library (you may fork it to your own account, if you need to do some changes to the worker code):
git clone https://github.com/redirectionio/fastly-worker cd fastly-worker - copy the file
fastly.dist.tomltofastly.toml. If you wish to use the Fastly local server, edit the values:- line 11,
backend_name: set the URL / IP Address of the backend to proxify the traffic
- line 11,
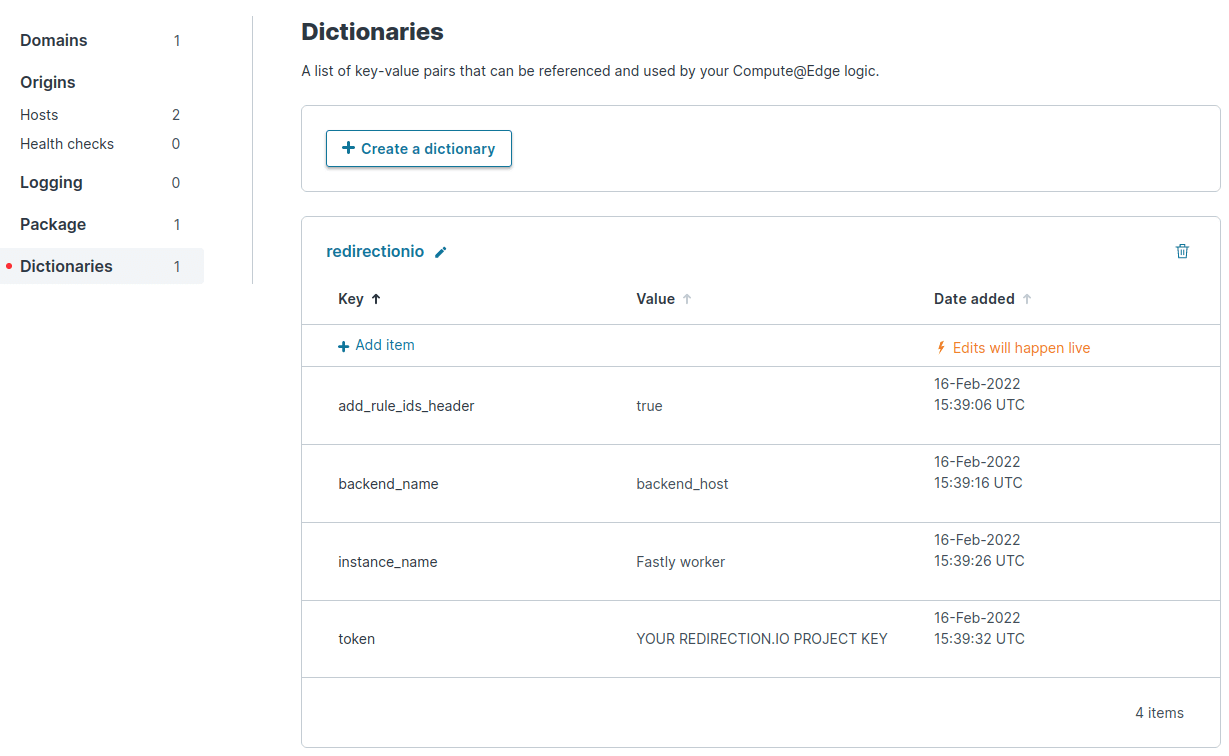
redirectionio, and configure the following keys:backend_name:- This directive is required
- Description: the name of the backend to proxify the traffic to. Use the
namethat you configured for your backend server in the "Origins > Hosts" menu of your Fastly service
token:- This directive is required
- Description: this redirection.io project key, as retrieved above
instance_name:- This directive is required
- Description: type here a name for this Fastly instance, as it should be displayed in the redirection.io manager "instances" screen
add_rule_ids_header:- This directive is optional
- Default: false
- Description: set this to
trueto append a response HeaderX-RedirectionIo-RuleIdscontaining the executed redirection.io rules identifier, separated by a;
log_endpoint:- This directive is optional
- Description: if you wish to log the output of the worker to a custom Fastly logging endpoint (as defined under the "Logging" menu), use for
log_endpointthe name of the logging endpoint to use (for example,my_logs). Please note that whether this dictionary key is defined or not, error logs will still be collected as regular Fastly logs.
log_level:- This directive is optional
- Description: if the directive
log_endpointabove is defined, this key allows to configure the log level. - Possible values:
OFForERRORorWARNorINFOorDEBUGorTRACE
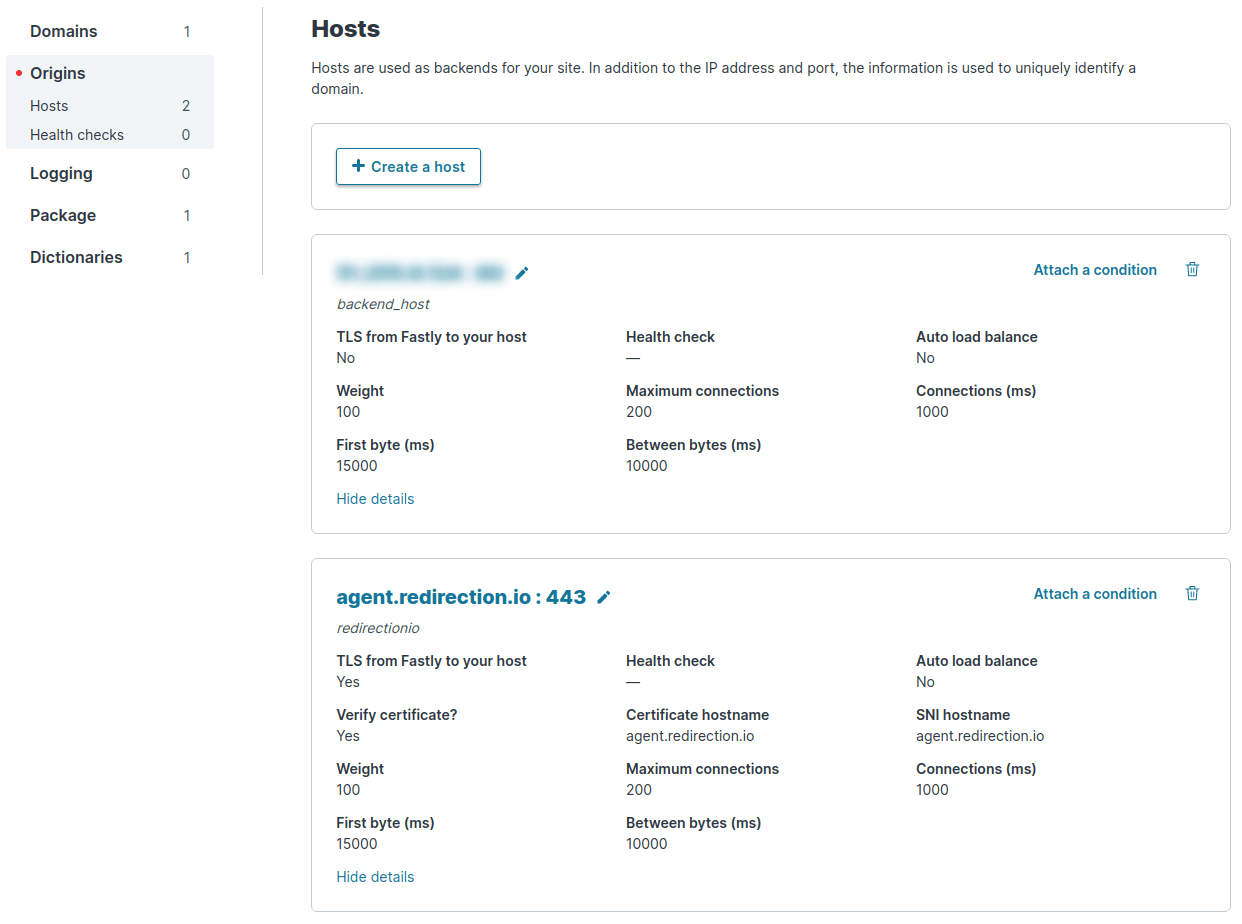
redirectionioand have the address "agent.redirection.io".- publish the worker to your Fastly service project:
fastly compute publish --service-id=XXXXXXXX


Your newly created worker should work after a couple of seconds!
Debugging locally using the local Fastly server
The Fastly cli proposes a local server, which is useful to run a worker locally before pushing it online.
To use this local server, copy the file redirectionio.dist.json to redirectionio.json, and edit the values:
backend_name: the name of the fastly backend to proxify the traffic to (it should be "backend_host", or change this name infastly.tomltoo)token: this redirection.io project key, as retrieved aboveinstance_name: type here a name for this Fastly instance, as it should be displayed in the redirection.io manager "instances" screenadd_rule_ids_header: Set this to"true"to append a response HeaderX-RedirectionIo-RuleIdscontaining the executed redirection.io rules identifier, separated by a;
Then, launch the local web server:
fastly compute serve